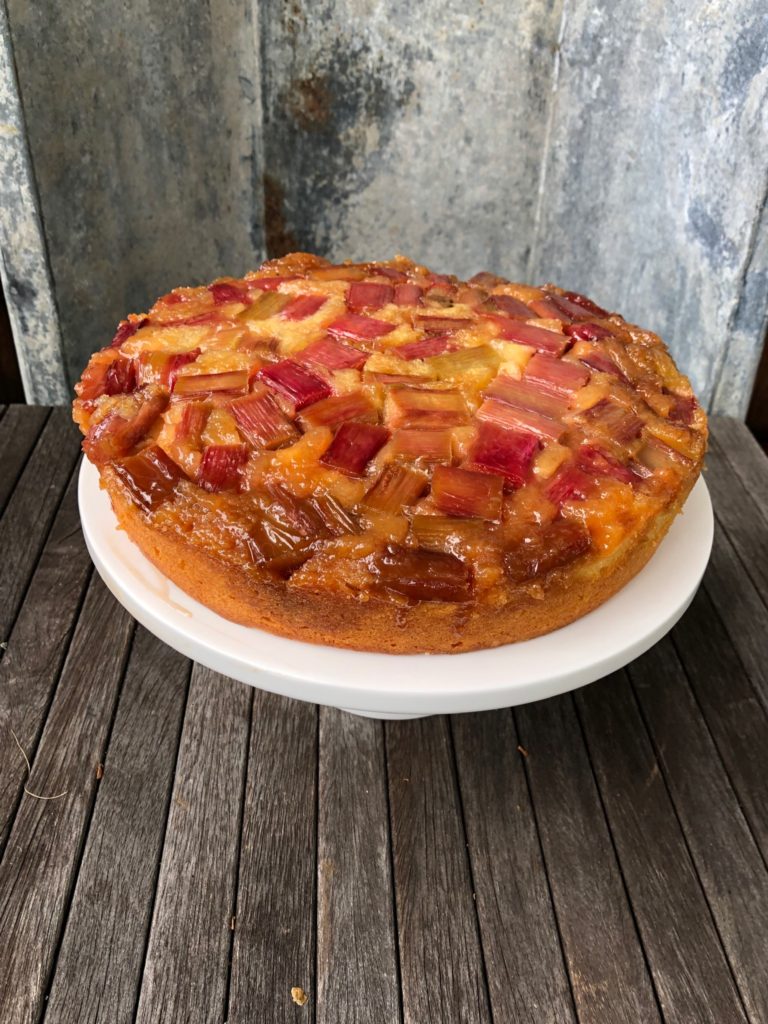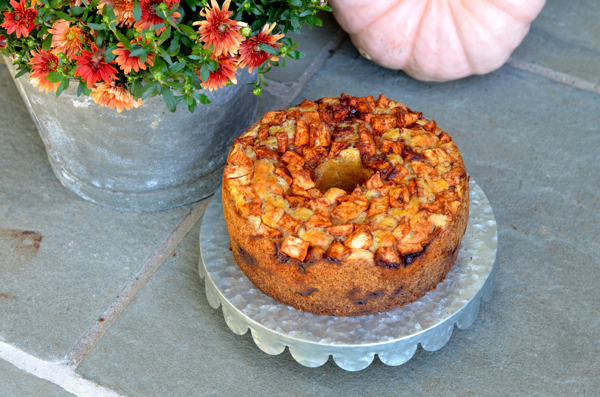
This a delicious fruity summer dessert. It starts with an easy yellow cake batter that uses lots of fresh berries. The berries bake into the cake and create little pools of jammy fruit. Enjoy summer in a cake!
From my the bay, wishing you jammy summer fruit cake memories.
Maryann
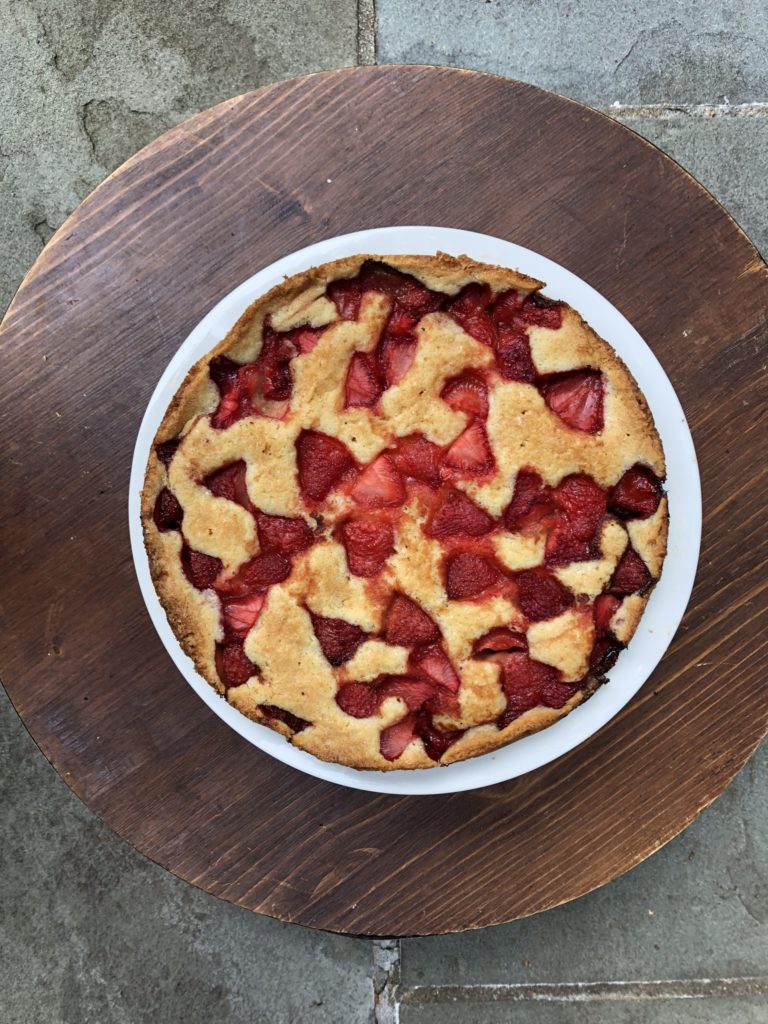
Easy Strawberry Cake
Ingredients
¼ pound unsalted butter softened
½ cup fine sugar
1 teaspoon coarse sugar for topping the cake
1 egg
1 teaspoon pure vanilla extract
1 cup all purpose flour
1 teaspoon baking powder
1 1/2 cups strawberries, sliced
1 tablespoon fresh lemon juice
Directions
Preheat oven to 350 degrees F. Place strawberries in bowl, cover with lemon juice, mix and set aside. Using electric mixer combine ¼ lb butter and sugar until fluffy, then add egg along with vanilla and combine. Next add the flour and baking powder and combine. This makes a soft dough. Take an 8” non stick cake pan line with parchment and butter and flour the pan. Press the dough into the pan covering the bottom of the cake pan. Use a spatula to spread evenly on the bottom of the pan. Place strawberries over the dough. Sprinkle coarse sugar on top of the batter and berries. Bake for approximately 45 minutes, until cake tester is clean. Cool and remove from pan. Serve warm or room temperature as is or with fresh whipped cream.
Variations: replace strawberries with blueberries, raspberries or blackberries